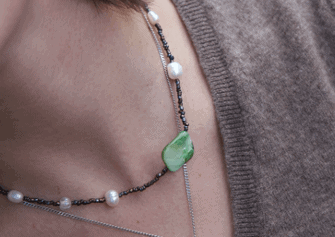
Image Credit – Madi Apthorpe
An era of DIY jewellery has come about as many have realised making a piece isn’t all that tricky. All you really need to get started is some beads and no more than £15 worth of kit from a craft shop.
If beading isn’t for you, attaching two chains can make a cost-efficient statement piece that can be disassembled if and when you feel like it.
Or if you’re feeling thrifty, you can buy a beaded piece of jewellery at a charity shop and remake it into something entirely new.
How to bead your own necklace
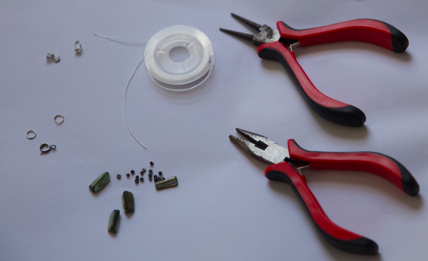
Tools needed (from left to right)
- Crimping bead/Calotte
- Joiners
- Clasp
- Elastic string, wire, or string
- Beads
- Round nose pliers
- Crimping pliers

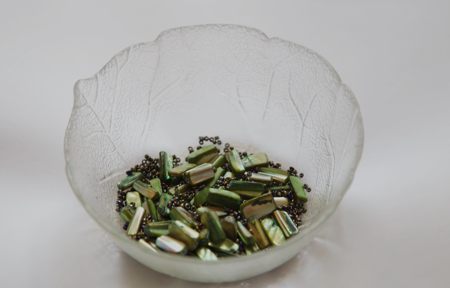
Take your unwanted item and cut the string or wire and empty the contents into a bowl.
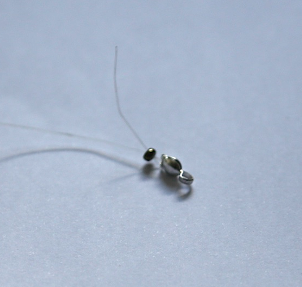
Using a crimping bead, loop the string through the hole on the bottom and secure it by squeezing the bead shut using the crimping plier.

Make sure to leave the loop of the calotte slightly open to attach joiners later.
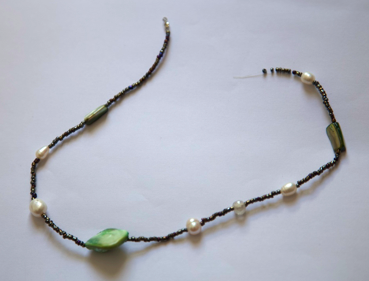
Once the crimping bead is secured, start stringing your beads.
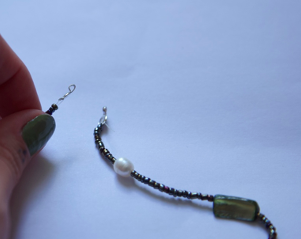
Once you have met your desired length, attach a crimping bead onto the other end and secure using the same method.

Once both crimping beads are secured onto the string and your beads aren’t falling off, attach a joiner to one end by slipping it through the loop in the crimping bead and squeezing the joiner shut to form a circle.

Then attach the clasp to the second joiner using the hole in the clasp.
Slip the second joiner and attached clasp through the crimping bead loop at the other end of the necklace.
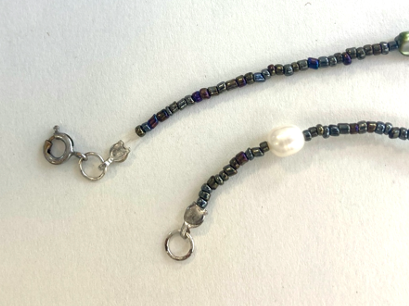
Squeeze the joiner shut like you did on the other end and you should have something that resembles this.
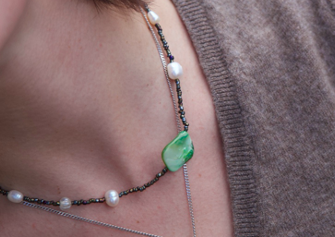
Fasten the clasp shut and you’re left with an upcycled, sustainably made, DIY piece of jewellery.

09/09/2022

